In the world of digital transformation, high-quality visuals play an indispensable role in making your website stand out. However, did you know an untapped power is nestled in your pocket? Your iPhone isn’t for browsing social media and making phone calls. Instead, it can become a formidable photography tool.
The article aims to dive deep into the world of iPhone photography, guiding you on how to use its impressive camera features and apply professional techniques. Even if you aren’t a professional photographer, you can learn how to master crips, clear shots through understanding the nuances of composition and lighting.

The iPhone Camera: Beyond Basic Features
The iPhone’s camera stands out not just for its simplicity but for its advanced technology that is packed within its compact design. While you might be familiar with the primary point-and-shoot mechanism, delving deeper allows you to customize your website’s photography. The iPhone photography blog, BacklightBlog, is an incredible tool. It will enable you to transform your photography skills to the next level. It offers various pieces on how to take professional-looking photos with your iPhone. Gone are the days when you use basic tools and mundane images for your website.
However, understanding the basics of the technology behind your lens provides you with insights into how the mechanisms work. Some of the top features include:
- Sensor size and quality. Over the years, Apple has improved the size and quality of the sensors. A larger sensor captures more light, producing clearer photos, especially in low-light conditions.
- Lens construction. The iPhone’s camera boasts multi-element lenses. This reduces distortion and improves and provides better focus across the frame. Recent models offer multi-lens systems, giving users wide, ultra-wide, and telephoto options.
- Image signal processors (ISP). ISP works in real-time, reducing noise, ensuring accurate colors, and optimizing focus. The result is consistently good photos.
- Deep Fusion and computational photography. Deep Fusion is a prime example of computational photography. It employs machine learning to process photos pixel by pixel. This, in turn, ensures optimal texture, detail, and reduced noise.
Laying the Groundwork: Essentials for Clear and Crisp iPhone Shots
Learning to take professional photos with iPhone boils down to clarity and sharpness. With your iPhone, achieving this is easier than you think. However, you must employ specific techniques and features to enhance your results.
Steady hands and stabilization tricks
The clearer and more stable your shot, the more professional it looks. Even slight movements can introduce blur, especially in low-light conditions or when using slower shutter speeds. Hence, the first thing to do is use both hands, which provides a more stable grip. Second comes the breaths you take. A photographer’s trick is to take a deep breath, exhale slowly, and press the shutter button midway through the exhale. However, recent iPhone models also come equipped with Optical Image Stabilization. This compensates for minor hand movements by moving the lens or sensor in the opposite direction.
Using focus and exposure to your advantage
Taking pictures with an iPhone also highly depends on the focus. Well, the iPhone’s touchscreen makes focusing effortless. By simply tapping on your subject, you ensure they are in sharp focus. It is when a small yellow box appears, indicating the focus point. You can then adjust the exposure by dragging the sun icon up or down. This occurs after tapping to focus. If you want a consistent focus and exposure, press and hold the focus point until the AE/AF Lock banner appears.
Mastering Composition: Arranging Visual Elements on iPhone
Composition, the art of arranging visual elements within a frame, produces iPhone high-resolution photos. It distinguishes between a snapshot and a photograph with intent, emotion, and story.
The rule of thirds
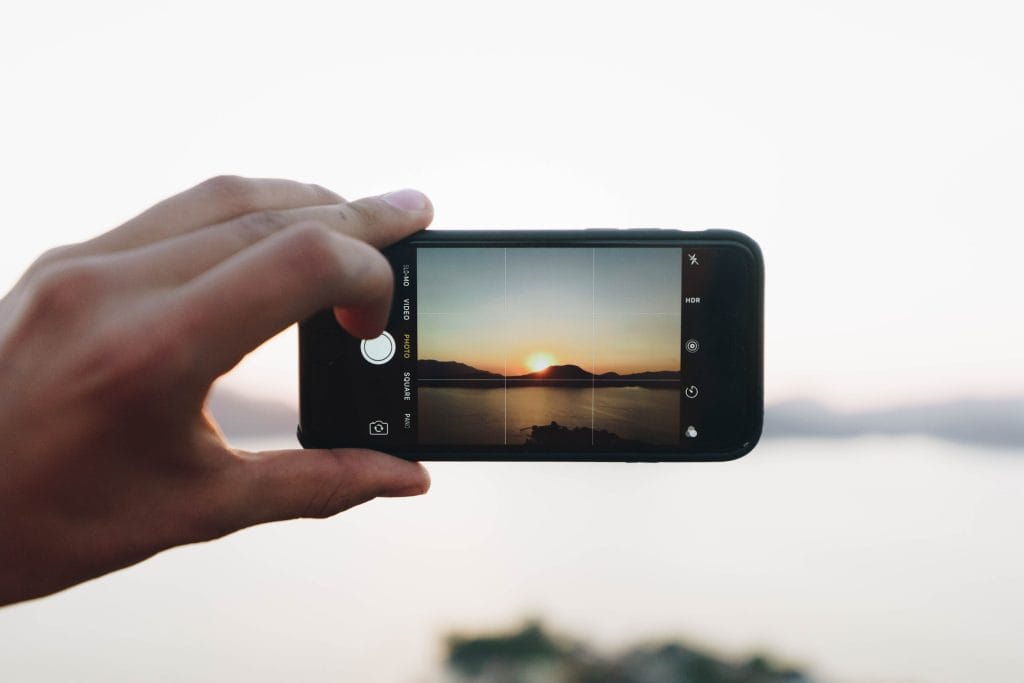
The Rule of Thirds is a fundamental composition guideline that divides your frame into nine equal sections. The idea is to place the essential elements of your photo along these lines or at their intersections, leading to a more balanced and engaging picture. You can activate the “Grid” feature in your camera settings. Once activated, this superimposes a 3×3 grid on your camera screen, making it easier to align subjects according to the Rule of Thirds. Taking product photos with an iPhone through this technique provides more captivating images.
Using depths and perspectives for dynamic shots
Aiming to achieve the best website photos involves diving into different features. For example, the Portrait Mode isn’t just for portraits. By blurring out the background, you can create a depth-of-field effect, highlighting your primary subject and adding dimension to your photo.
Moreover, the iPhone’s compact size makes it versatile. Hence, don’t simply aim to shoot from eye level. Instead, try capturing from high or low angles looking down. Different perspectives inject dynamism and intrigue into your shots.
Lighting: Setting the Mood and Tone for Best Website Photos
Focus on the light if you want to make iPhone pictures look professional. It is what sculpts, defines, and brings life to your images. The iPhone offers ample features to harness the power of light effectively. This section dives into the different elements related to light.
Utilizing natural light
To take product photos with an iPhone, consider utilizing the golden hour. The golden hour refers to the short period after sunrise and before sunset. That is when the sun casts a soft, warm, and diffused light. The light aims to flatter and add a magical touch to your images. The iPhone works on capturing the golden hue and subtle gradations beautifully, making it ideal for website photography that seeks to evoke emotions.
Tackling challenging light conditions
One of the challenges of photography is shooting in low light, which can happen when taking a product photo for website. With the introduction of Night Mode, this challenge becomes an opportunity. Night Mode uses long exposure and computational photography to brighten images, reduce noise, and retain detail.
But what about scenes with a mix of very bright and very dark areas? Such settings can be tricky. However, simply activate HDR (High Dynamic Range) mode. This takes multiple photos at different exposures and merges them for an even exposure throughout the image. This is how you establish excellent product photography with iPhone.
The flash: friend or foe?
Using iPhone for business doesn’t always mean you utilize the built-in flash. While powerful, it is direct and can sometimes result in harsh lighting. This, in turn, can lead to overexposed subjects and strong shadows. So, when should you use it? Use flash sparingly, ideally in situations where ambient light is too low, like in dim interiors.
Conclusion
The importance of iPhone camera settings for the best quality of photos cannot be overstated. Well, the iPhone poses as more than just a communication device. You can transform your website’s visuals by understanding its advanced features and lighting techniques.
Whether new to the game or a seasoned photographer, you can utilize the techniques and tips through this article. The iPhone proves you don’t need a high-end DSLR to produce professional-grade photos. Embrace the technology at your fingertips, explore its vast potential, and watch your website shine with unparalleled visual appeal.