If you are considering installing a free system that would enhance the security and speed of your WordPress site, then you definitely want to learn how to set up Cloudflare.
Of course, the security of your website is important. But how your content is delivered globally to your audience is also a major concern; because propagation delays are inevitable in computer networks. That’s why hosting companies always offer the best services in the areas they are. It must take data sometime to shuttle between a server and a client. However, this phenomenon, which must be considered in any campaign for a fast-loading WordPress website, is no longer restricting publishers within the locality of their hosting company thanks to content delivery network (CDN) service providers.
#Cloudflare is one of the best content delivery #network providers you want to use in delivering your content faster. Click To TweetAnd this article will highlight the step by step procedures on how to set up Cloudflare on your WordPress website. Let’s first understand what Cloudflare is and how the system works.
What is Cloudflare?

Cloudflare is a content delivery network that allows users to easily install an SSL certificate, protect their network from distributed denial-of-service (DDoS), and effectively optimize their web content. It was first introduced as a system to protect websites from cyber threats but later expanded into doing so without adding undue latency. This has been achieved through its globally distributed network, considered one of the largest in the world, which resides in some 194 cities across 90 countries.
How Cloudflare works
Cloudflare uses a reverse proxy (a type of proxy server that retrieves data from one or more servers on behalf of a client) and cache to act as an intermediary between a server and a client. The system is able to reduce website loading times by storing web content on the closest edge server. Cloudflare modifies web content to optimize web performance and also protects the internet properties of a website from malicious activities.
Methods of setting up Cloudflare on WordPress
You can set up Cloudflare on your WordPress via two methods; cPanel and WordPress dashboard. The cPanel Cloudflare set up option, which is a lot easier, is only available in some hosting services such as HostPapa. However, developers with access to their server, including hosting providers, can download and install their appropriate Cloudflare plugin via the Cloudflare resource page.

Setting up Cloudflare through the Cpanel
This process could be referred to as the automatic approach, which is almost the same with most Cloudflare-supporting hosting companies. It requires just a few clicks to complete the entire process; the hosting company has already integrated Cloudflare in your hosting cPanel. All that’s required is to enable the service. Follow the steps below to enable and configure Cloudflare on your WordPress blog.
- Login to cPanel
- Scroll down to the Software section of your cPanel dashboard and click Cloudflare. This should load the plugin’s homepage.
- Click the domain button to display the primary domain setting if you are hosting multiple sites. Select the website’s domain you wish to enable Cloudflare
- Locate the CNAME record for the domain and toggle the “off” switch in the row to turn on Cloudflare.
Step by step guide on how to setup Cloudflare manually
On a note that your hosting company doesn’t integrate Cloudflare plugin in your cPanel, you can use this (manual) method to set up Cloudflare on your WordPress site through your WordPress dashboard. While this procedure may take a longer time, it’s still user-friendly and easy to complete. Follow the steps below to set up Cloudflare on your WordPress site.
Create a Cloudflare account
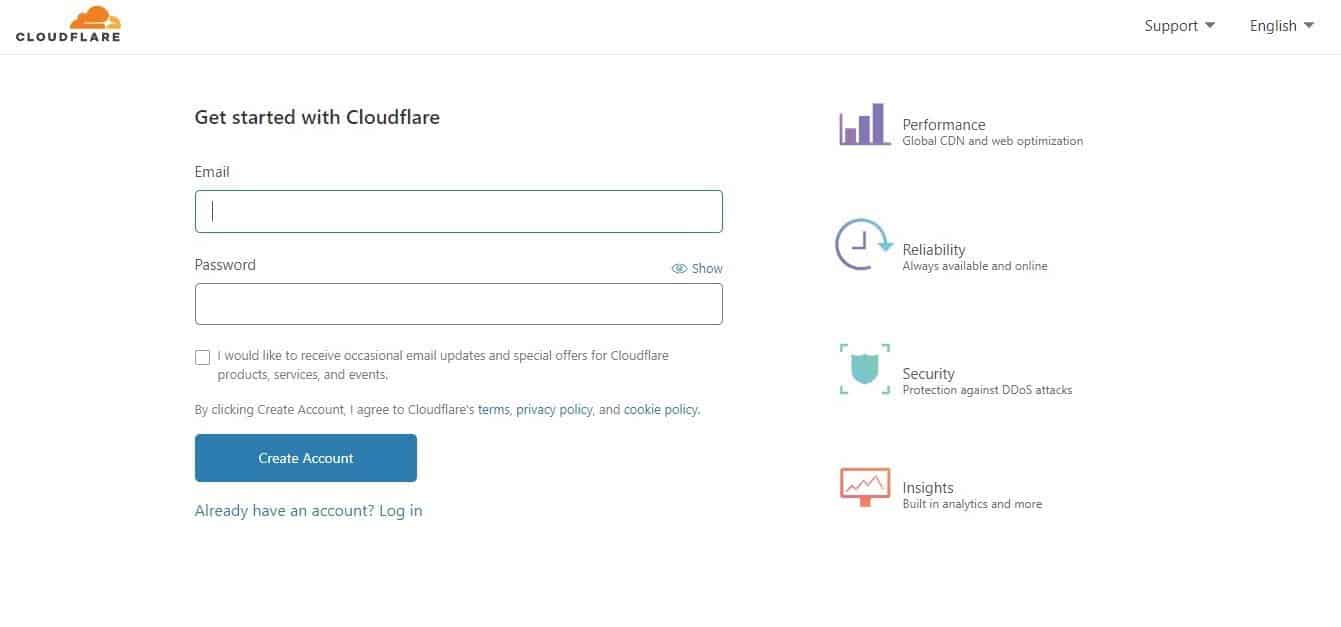
Go to the Cloudflare website and click on the “Sign Up” button. This will load a signup form. Fill out the form, enter your email and your choice of password, and click on the “Create Account” button.
Add your site to Cloudflare
After creating the account, the next page should request that you add a site to your account. Otherwise, click on the +add site icon at the Cloudflare dashboard and enter your website domain name, excluding the www prefix, for example, yourdomain.com or subdomain.yourdomain.com.
Select a Cloudflare plan
The next page should request that you select a plan for your site. You are advised to begin with a free plan if you’re a new publisher. Click on the “Confirm plan” button after selecting your choice of plan.
DNS record check and Cloudflare activation
Cloudflare will automatically check the DNS records on your site. This may take a few seconds or minutes, depending on the number of DNS records on your site. Details of your site’s DNS records, in the form of a list, will come up when the scan is completed.
You are to click on the “cloud” icon under the proxy status for each DNS record to enable DNS only or DNS with CDN. Scroll down and click on the “Continue” button.
Point your domain name to Cloudflare nameservers
The next page should provide you with Cloudflare nameservers you should use in replacing your current nameservers. Copy them, go to your hosting account and change your nameservers to those provided by Cloudflare.
Copy your Cloudflare API Key
The Cloudflare API Key is necessary for linking your WordPress site to your Cloudflare account. Follow the steps below to get your Cloudflare API Key
- Click on your domain name at the top left corner of your Cloudflare account page.
- Scroll down to the API column on the right-hand sidebar and click on “Get your API token.” This will load the API tokens page.
- Under the API Keys section, click on the blue “view” button on the same row with “Global API Key”. This will pop up an authentication window.
- Enter your Cloudflare account password, check the Captcha, and click on the view button. This will load your API Key.
- Select and copy the key.
Install & activate Cloudflare plugin on your WordPress
The final process of setting up Cloudflare on your WordPress site manually requires you to install the Cloudflare plugin. Follow the steps below to perform the plugin installation.
- Login to your WordPress dashboard
- Click on Plugins > Add New and search for Cloudflare
- Click on install and activate the Cloudflare plugin when the installation is completed.
- Go to Settings on your WP dashboard and click on Cloudflare. This should load the Cloudflare dashboard.
- Click on the sign here link
- Enter your email address and API key copied in the previous step
- Click on the “Save login details” button. This should load the Cloudflare homepage for your domain.
- Click on Apply under the “Optimize Cloudflare for WordPress” section.
Conclusion
Congratulations! And welcome to a new realm of content delivery. CDN increases the performance of any WordPress site while still securing the site from various nefarious intrusions. The entire procedure on how to set up Cloudflare basically includes account creation, service activation, and change of nameservers, Cloudflare plugin installation, and account integration with your website.
Please leave a comment below if you have any challenges setting up Cloudflare on your WordPress site.