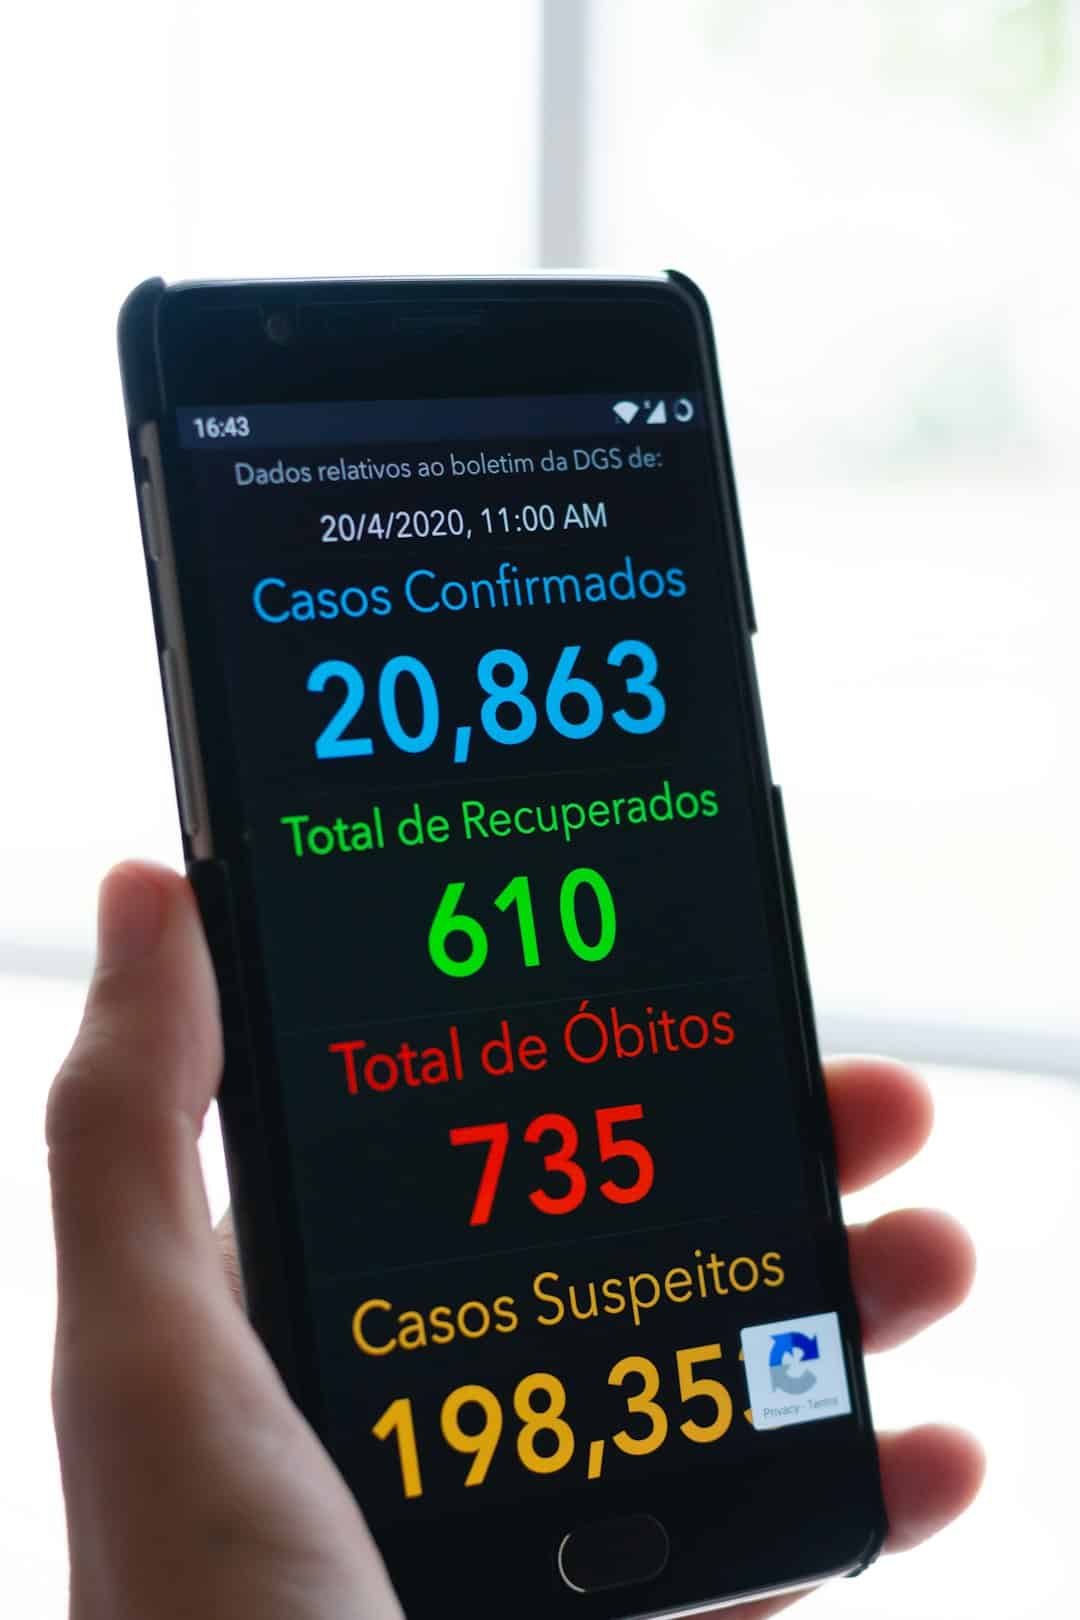
Using a Virtual Private Network (VPN) on your Android phone significantly enhances your online privacy and security. A VPN allows you to browse the internet anonymously by encrypting your data and masking your IP address, making it a critical tool in today’s digital world. This guide will walk you through how to set up a VPN on your Android device in a reliable and professional way.
Why Use a VPN on Android?
There are multiple compelling reasons to use a VPN on your Android smartphone:
- Privacy: Protects your data from third-party tracking and surveillance.
- Security: Encrypts your internet connection, safeguarding you against hackers on public Wi-Fi networks.
- Access: Enables you to bypass geo-restrictions to access content from around the world.
- Anonymity: Hides your IP address, making it harder for websites to track your location and behavior.
Now, let’s go over how to set up a VPN manually or via a VPN app on your Android device.
Option 1: Using a VPN App
This is the simplest and most user-friendly method. Most reputable VPN providers offer dedicated Android apps that are easy to set up and configure.
- Choose a Reliable VPN Provider: Some of the best-known VPN providers include NordVPN, ExpressVPN, and CyberGhost. Consider factors like privacy policies, speed, app ratings, and customer support.
- Download the VPN App: Go to the Google Play Store and search for your chosen provider’s app. Make sure it’s the official app by checking the developer info and reviews.
- Sign In or Create an Account: After installation, open the app and either log in or sign up, depending on your subscription status.
- Connect to a Server: Choose a server location based on your needs (e.g., closer for speed, different country for access). Tap to connect.

Once connected, the VPN will start encrypting all of your internet traffic. A key icon in the notification bar typically confirms an active VPN connection.
Option 2: Manually Configuring a VPN
If you prefer not to use a third-party app, you can manually set up a VPN using your Android’s system settings. Here’s how:
- Open Settings: Go to Settings > Network & Internet > VPN. On some devices, this might be under Connections or More settings.
- Add a VPN Profile: Tap the “+” or “Add VPN” button. You’ll need to enter specific details provided by your VPN provider, including:
- Name: A label for your reference
- Type: Choose from options like PPTP, L2TP/IPSec, or IKEv2 depending on the VPN service
- Server address: The IP address or URL of the VPN server
- Username and password: Your account credentials
- Save and Connect: Once the profile is set, tap it and enter your credentials to initiate the connection.
Note that manual configuration might be slightly more technical. Some VPNs require setting up additional security protocols, such as importing certificates.
Important Considerations
Before setting up a VPN, keep the following in mind:
- Battery Usage: VPN apps can consume additional battery, especially when active for long periods.
- Speed Reduction: You may experience a slower connection due to encryption and server routing.
- Data Logging: Be cautious of free VPNs, as they may log your activity and sell data to third parties. Always read the privacy policy.

Troubleshooting VPN Issues
If your VPN isn’t working as expected, try the following:
- Restart your Android phone.
- Try a different server or VPN protocol.
- Clear the app cache or reinstall the VPN app.
- Ensure your internet connection is stable and firewall settings are not blocking the VPN.
If issues persist, contact your VPN provider’s support team. Reputable services usually offer 24/7 assistance.
Final Thoughts
Setting up a VPN on your Android phone is a smart move to maintain your digital privacy and access content freely and securely. Whether you opt for a trusted VPN app or a manual setup, the benefits of using a VPN far outweigh the initial setup efforts. Make sure to choose a reliable provider and stay informed about how your data is handled.
