G-Shock watches are famous for their rugged durability, sporty design, and impressive range of features. Whether you wear yours for outdoor adventures, sports training, or everyday use, knowing how to set the time correctly is essential. While G-Shock models may look complex with their multiple buttons and digital displays, adjusting the time is actually straightforward once you understand the basic process.
TLDR: To set the time on a G-Shock watch, press and hold the Adjust button (usually top left) until the display flashes, use the Mode button to move between settings, and the Forward/Reverse buttons to change values. Confirm your settings by pressing Adjust again. The exact steps may vary slightly by model, but the core process remains the same. Always check whether your watch is analog, digital, or a combination of both before starting.
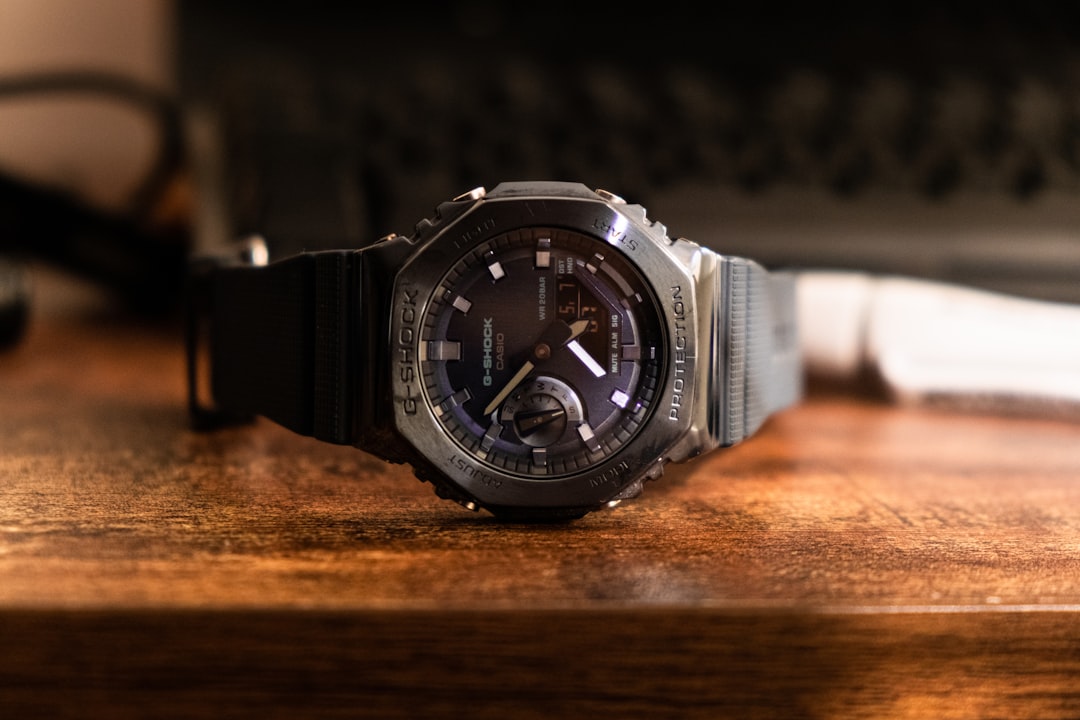
Understanding Your G-Shock Buttons
Most G-Shock watches feature four primary buttons located around the case. Although labeling may vary slightly, their functions are generally consistent across models:
- Adjust (Top Left) – Used to enter and exit time-setting mode.
- Mode (Bottom Left) – Cycles through different modes and setting fields.
- Forward (Top Right) – Increases values.
- Reverse (Bottom Right) – Decreases values (on some models) or toggles options.
Tip: The labels may be engraved subtly into the case. If you’re unsure, consult the back of the watch for the module number and reference the official manual online.
Step-by-Step: Setting Time on a Digital G-Shock
If you own a standard digital G-Shock, follow these simple steps:
- Enter Timekeeping Mode
Press the Mode button repeatedly until you reach the main time display screen. - Activate Setting Mode
Press and hold the Adjust button for about 3–5 seconds. The seconds digits will begin flashing, indicating you’re in setting mode. - Reset Seconds
Press the Forward button to reset the seconds to 00. If the seconds are between 30–59, resetting them may automatically advance the minute by one. - Adjust Hours and Minutes
Press the Mode button to cycle through hours, minutes, year, month, and day. When a setting flashes:- Use Forward to increase the value.
- Use Reverse (if available) to decrease it.
- Select 12H or 24H Format
While adjusting hours, you can usually toggle between 12-hour and 24-hour format by pressing the Forward button. - Save and Exit
Press the Adjust button again to confirm and return to normal mode.
That’s it! Your digital G-Shock should now display the correct time.
Setting Time on an Analog-Digital (Ana-Digi) G-Shock
Some G-Shock models combine digital displays with traditional analog hands. Setting the digital time is similar to the steps above, but you may also need to align the analog hands separately.

Adjusting the Digital Time
Follow the same procedure outlined in the previous section to update the digital display.
Aligning the Analog Hands
If the analog hands don’t match the digital time:
- Press Mode until you reach Hand Setting (H-Set) mode.
- Hold Adjust until the display flashes.
- Use the Forward button to move the hands forward.
- Press Adjust to finish.
Important: On some models, holding the Forward button will move the hands continuously for faster adjustment.
How to Set Time on a Bluetooth G-Shock
Modern G-Shock models with Bluetooth connectivity make time setting even easier. These watches can sync automatically with your smartphone.
Automatic Time Sync
- Download the official Casio Watches app.
- Enable Bluetooth on your phone.
- Press and hold the designated Bluetooth button on your watch.
- Pair the watch with your phone following in-app instructions.
Once paired, the watch will automatically update the time based on your phone’s clock and time zone.
Manual Setting (If Needed)
If Bluetooth isn’t available, you can still set the time manually using the standard digital method described earlier.
Setting the Correct Time Zone
One of the most common time-setting mistakes involves incorrect time zone selection. Many G-Shock watches require you to choose a home city code first.
- Enter setting mode by holding Adjust.
- The city code will flash first.
- Use Forward or Reverse to scroll through city codes.
- Select the city closest to your location.
- Press Mode to continue adjusting other settings.
Choosing the correct city ensures daylight saving time (DST) and world time functions operate correctly.
Image not found in postmetaAdjusting Daylight Saving Time (DST)
Many G-Shock watches allow you to toggle DST on or off.
- While in setting mode, navigate to DST.
- Press Forward to switch between:
- DST On
- DST Off
- Auto (on some models)
If your region observes daylight saving time, ensure this setting matches the current season.
Troubleshooting Common Issues
Even though setting a G-Shock is generally simple, you may encounter a few challenges.
Buttons Not Responding
Make sure you are in the correct mode. Some buttons are disabled in certain modes like stopwatch or timer.
Time Keeps Resetting
This may indicate a low battery. If your watch is solar-powered, expose it to bright light for adequate charging.
Hands Don’t Match Digital Time
Recalibrate the hands in Hand Setting mode as described earlier.
Stuck in Military Time
Adjust the hour setting and toggle between 12-hour (AM/PM) and 24-hour format.
Pro Tips for Faster Adjustments
- Hold buttons down to scroll quickly through numbers.
- Set the year first if adjusting the full date to minimize errors.
- Double-check the PM indicator when using 12-hour format.
- Keep your watch manual bookmarked online using the module number.
Once you’ve done it a few times, setting your G-Shock becomes second nature.
Why Proper Time Setting Matters
Beyond simply telling time, your G-Shock powers features like alarms, countdown timers, world time, and automatic calendar functions. Incorrect time settings can throw off your entire schedule—especially if you rely on the watch for workouts, meetings, or travel.
Additionally, precise timekeeping is part of what makes G-Shock so respected. These watches are engineered for toughness and accuracy. Taking a few moments to set yours correctly ensures you get the full benefit of its design.
Final Thoughts
Although G-Shock watches may appear intimidating at first glance, setting the time is a quick and logical process once you understand the button layout. Whether you have a classic digital model, an analog-digital design, or a Bluetooth-enabled version, the fundamental method remains consistent: enter setting mode, adjust values using directional buttons, and confirm your changes.
With this complete guide, you can confidently set the time, adjust your time zone, and troubleshoot common issues. Mastering these basics not only keeps you punctual but also helps you unlock the full functionality of one of the toughest watches ever made.
Now that you know how to set the time on your G-Shock, you’re ready to make every second count.