

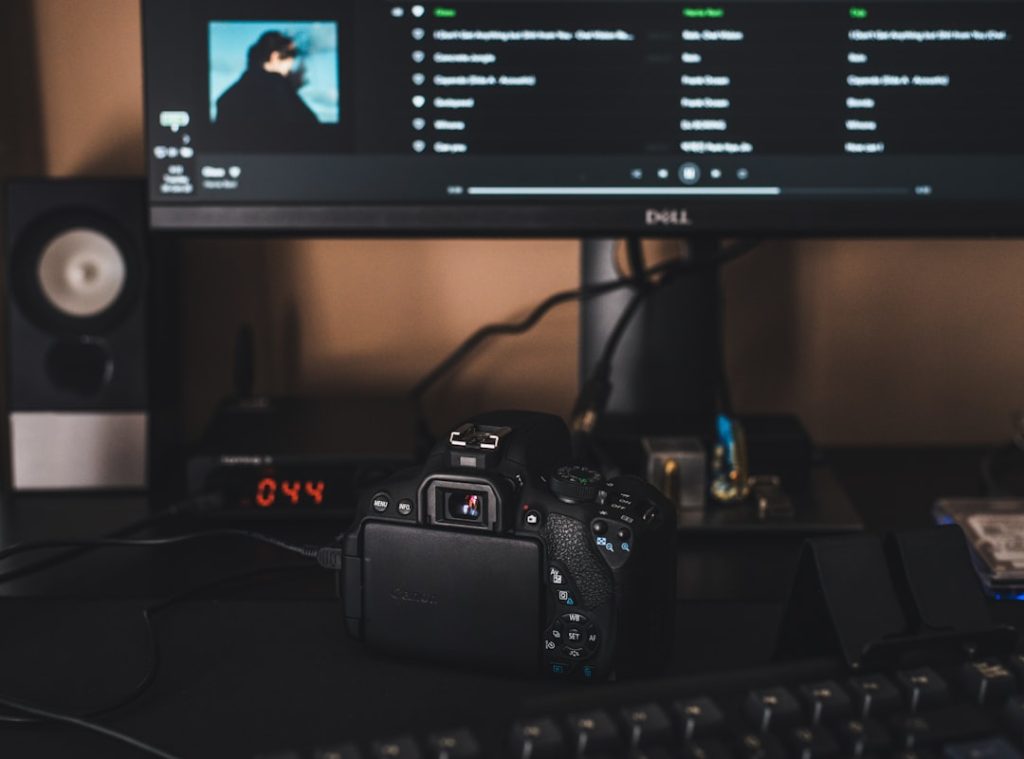
Filming DJ sets with multiple sources in OBS (Open Broadcaster Software) requires more than simply connecting a few cameras and pressing “Start Streaming.” A professional-looking broadcast depends on careful planning, proper routing of audio and video, synchronized sources, and intelligent scene management. Whether you are streaming to platforms like YouTube or Twitch, or recording high-quality sets for later editing, understanding how to structure your workflow in OBS is critical to delivering a polished performance.
TLDR: To film DJ sets with multiple sources in OBS, you need to carefully plan your video inputs, manage audio routing to maintain clarity, and build organized scenes for smooth transitions. Use multiple cameras, capture cards, and audio interfaces while keeping everything synchronized through OBS settings. Proper lighting and thoughtful layout design dramatically improve production quality. Finally, test and monitor your stream before going live to avoid technical failures.
OBS is a powerful, flexible tool that allows DJs to combine multiple cameras, audio feeds, overlays, and visual effects into a cohesive broadcast. But the flexibility also means complexity. Without a structured approach, your stream can quickly become messy, out of sync, or sonically distorted. Below is a detailed guide on how to approach multi-source filming with discipline and professionalism.
Designing Your Multi-Source Setup
Before opening OBS, you should map out your production plan. A typical DJ multi-source setup includes:
- Main camera (wide shot of the DJ and booth)
- Close-up camera (hands on mixer and decks)
- Side camera or crowd view
- Direct audio feed from the mixer
- Ambient microphone for room sound
- Visual overlays (branding, track info, social handles)
Each camera usually connects through a capture card if it is a DSLR or mirrorless device, or directly via USB if supported. Audio is ideally routed through an audio interface for clean input into your computer. Planning signal paths beforehand reduces errors during setup and livestreaming.


Configuring Video Sources Inside OBS
Inside OBS, video sources must be added strategically within scenes. A scene acts as a container that holds multiple sources, such as cameras and graphics.
Step-by-step video setup:
- Open OBS and create a new scene (e.g., “Main DJ View”).
- Click Sources → Add → Video Capture Device.
- Select each camera individually and rename it clearly (e.g., “Camera Wide,” “Deck Cam”).
- Adjust resolution and frame rate settings to match across all devices if possible.
- Position and resize sources in the preview window as needed.
Maintaining consistent frame rates across cameras (for example, 30fps or 60fps) prevents stuttering or sync drift. If your cameras support clean HDMI output, ensure overlays and recording icons are disabled at the camera level.
Use the Transform tools in OBS to crop, scale, or reposition footage. For deck close-ups, cropping can eliminate unnecessary background distractions, focusing attention on hands and controls.
Managing Multiple Angles with Scenes and Studio Mode
Professional DJ broadcasts rely heavily on scene switching. You can create individual scenes such as:
- Wide Only
- Deck Close-Up
- Split Screen (wide + close-up)
- Performance View with Branding Overlay
OBS Studio Mode allows previewing scenes before pushing them live. This reduces abrupt transitions and mistakes. Assign hotkeys for scene transitions to switch camera angles smoothly while performing. If possible, use a MIDI controller or stream deck device to trigger scene changes without relying on mouse clicks.

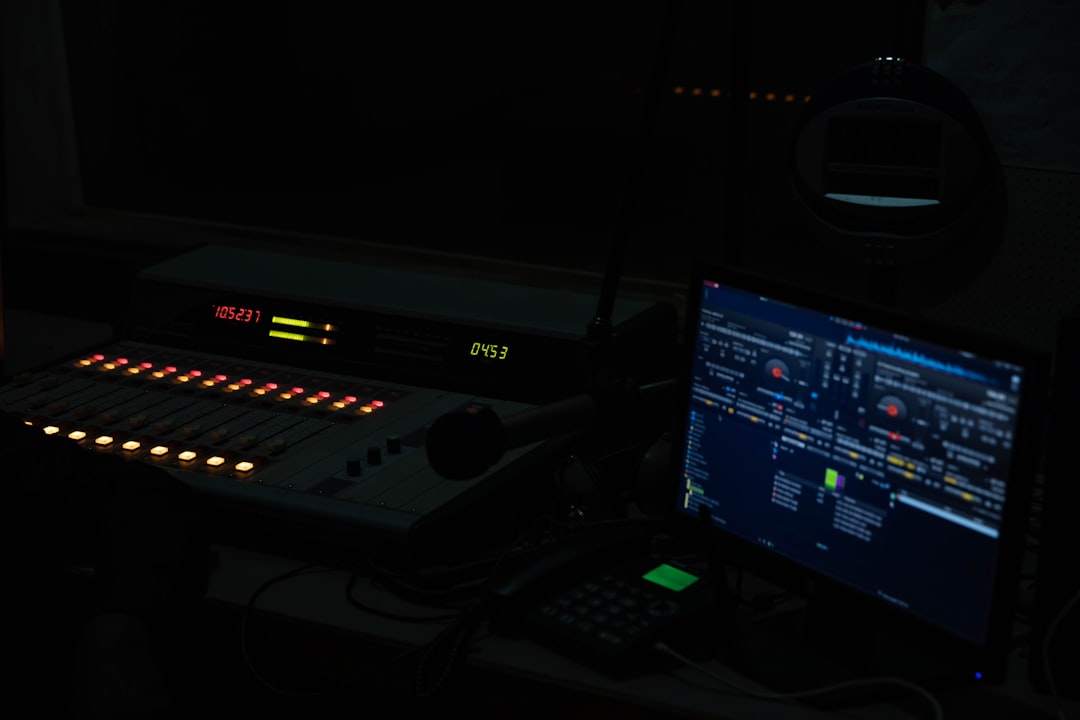
Audio Routing: The Most Critical Component
While video quality is important, poor audio will immediately damage credibility. The cleanest approach is to take a direct master output from your DJ mixer into an audio interface connected to your streaming computer.
Best practices for audio:
- Connect mixer booth or record output into an audio interface line input.
- Set appropriate gain levels to avoid clipping.
- Disable unnecessary audio enhancements in your operating system.
- Use OBS audio meters to monitor peaks (keep below 0 dB).
Additionally, consider blending a low-volume ambient microphone into the mix. This captures room reactions, transitions, and natural sound reflections, making the broadcast feel less sterile.
Audio sync can sometimes drift relative to video, especially when using multiple capture devices. In OBS, open Advanced Audio Properties and apply a sync offset (measured in milliseconds) if needed. Manual clapping during testing helps identify timing misalignments.
Lighting and Visual Quality
Even the best cameras cannot compensate for poor lighting. Controlled lighting distinguishes amateur streams from professional broadcasts.
Recommended lighting approach:
- Use two soft key lights positioned at 45-degree angles.
- Add a backlight to separate the DJ from the background.
- Incorporate ambient LED or RGB lighting for atmosphere.
Avoid relying solely on club lighting, as rapidly shifting colors may impact exposure. Lock camera exposure and white balance manually to prevent constant brightness fluctuation.

Optimizing Streaming and Recording Settings
OBS offers extensive output configuration. The correct settings depend on whether you prioritize livestreaming stability or high-quality local recording.
For streaming:
- Resolution: 1920×1080 (or 1280×720 if bandwidth is limited)
- Bitrate: 4500–8000 kbps depending on platform limits
- Encoder: Hardware (NVENC or Apple VT) if available
For recording:
- Use higher bitrate or lossless recording if disk space allows.
- Record in MKV format to prevent corruption if OBS crashes.
- Remux to MP4 after recording.
Always run a private test stream before going live. Monitor CPU usage inside OBS; exceeding 75–80% usage can cause frame drops. Lower output resolution or close background programs if necessary.
Adding Professional Overlays and Branding
Visual identity adds credibility. Simple overlays can include:
- Artist name and logo
- Track title display
- Social media handles
- Donation alerts or chat boxes
Use transparent PNG images or browser sources for dynamic content. Maintain clean design principles—avoid clutter that distracts from the performance. Consistency in fonts and color schemes reinforces brand professionalism.
Ensuring Stability and Redundancy
Technical failure during a DJ set can severely damage audience trust. Implement redundancy where possible:
- Use wired internet instead of Wi-Fi.
- Keep spare cables available.
- Restart your system before large broadcasts.
- Disable system updates during streaming sessions.
Recording locally while streaming provides a backup copy in case your internet connection drops. Some DJs also route their mixer through a hardware recorder as a secondary safeguard.
Workflow Rehearsal and Performance Integration
A multi-source OBS production should not interfere with musical performance. Run full rehearsals that simulate live conditions. Practice switching scenes while mixing transitions. Monitor audio through headphones to detect distortion early.
Keeping your layout intuitive minimizes distraction. Rename sources clearly, group related items, and lock their positions inside OBS to prevent accidental movement. Preparation builds confidence and keeps the technical side invisible to your audience.
Conclusion
Filming DJ sets with multiple sources in OBS is both a technical and creative challenge. Success requires structured setup, disciplined audio routing, careful scene design, proper lighting, and disciplined testing procedures. When executed correctly, multi-source streaming elevates a DJ performance into a compelling broadcast experience that rivals professional production studios.
By treating your OBS workflow with the same seriousness as your track selection and mixing technique, you ensure reliability and visual impact. A well-produced DJ stream reflects preparation, attention to detail, and respect for your audience—qualities that define long-term professional credibility.