

Sometimes you may want to know the elevation of a place. Whether you’re planning a hike, cycling a new route, or just curious about the height of a location, Google Maps can help.
The way to check elevation depends on whether you use Google Maps on desktop or on a mobile device. This guide shows you how to do it, and what to expect from Google Maps’ elevation data.
How to View Elevation on Google Maps (Desktop)
It is easiest to check elevation using Google Maps on your computer. Follow these steps:
- Go to Google Maps in your web browser.
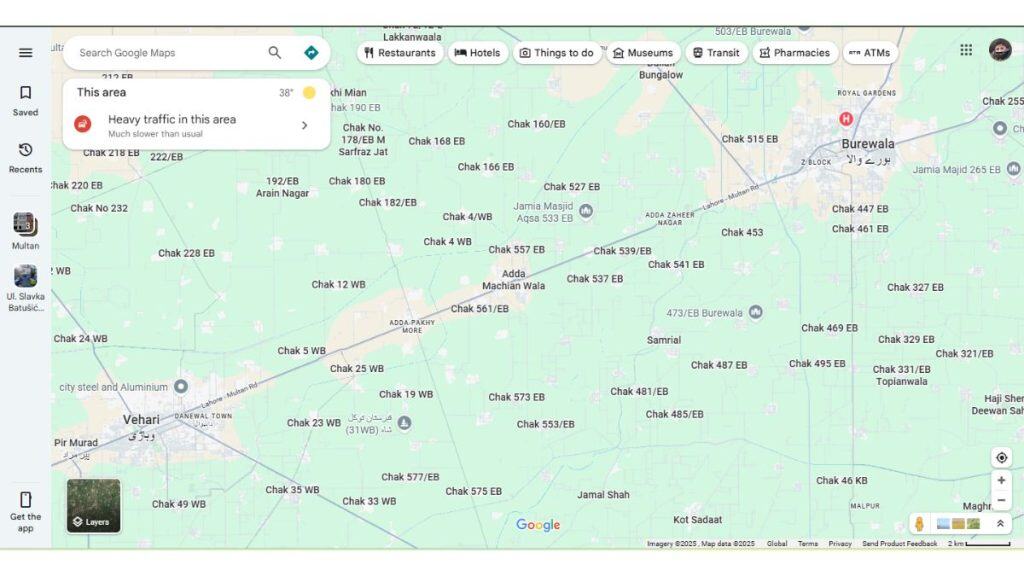
- Navigate to the area where you want to check elevation.
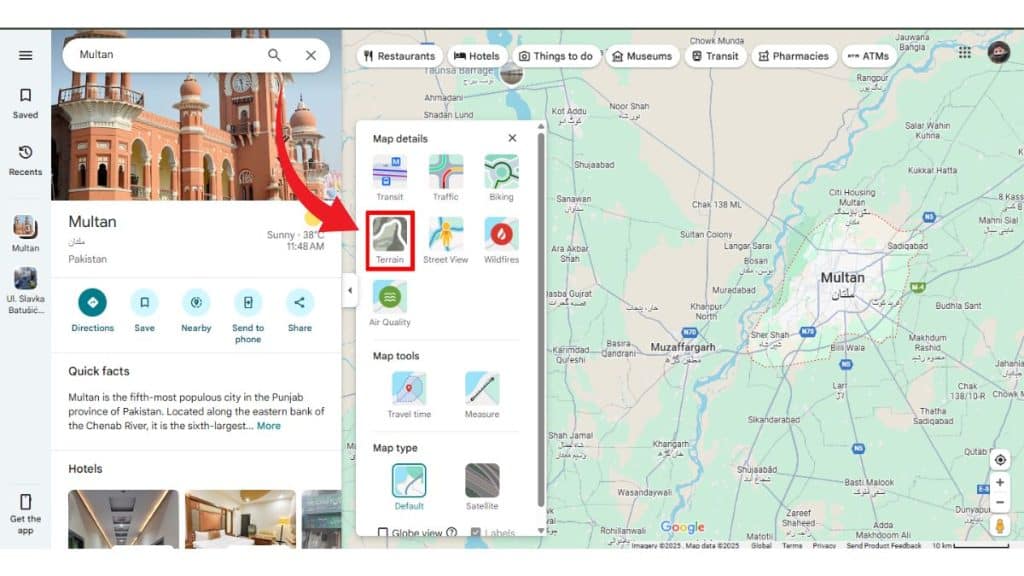
- Click the Layers button in the bottom-left corner of the map.

- Select Terrain from the options.
- Zoom in on the area you want to check.
As you zoom in, you’ll see contour lines appear. The numbers on the contour lines show the elevation in feet or meters.
Note: Not all areas show contour lines. You’ll see them best in hilly or mountainous regions.
How to View Elevation on Google Maps (Mobile App)
You can also check elevation using the Google Maps app on your phone or tablet. Here’s how:
- Open the Google Maps app on your Android or iPhone.

- Navigate to the area where you want to check elevation.
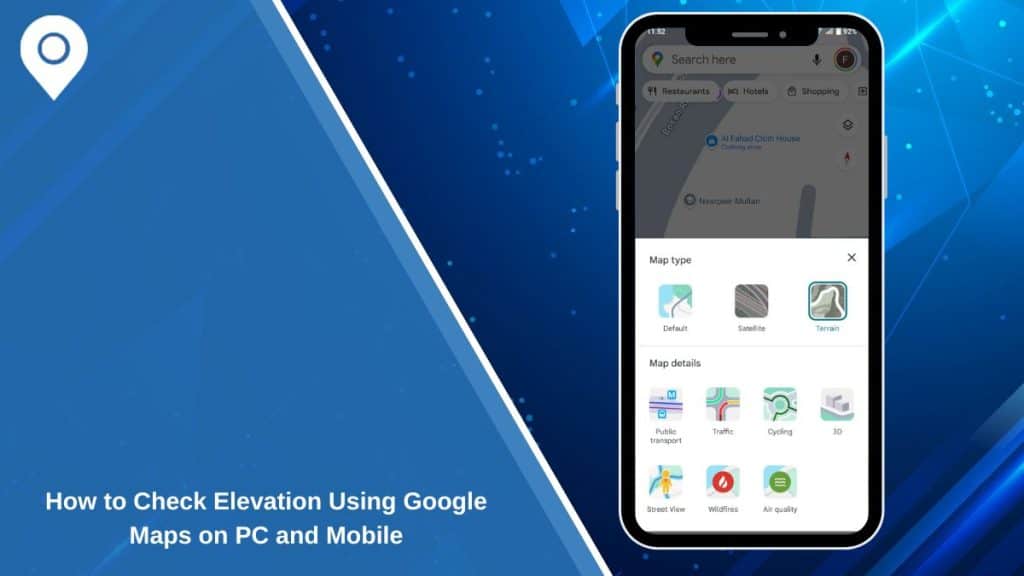
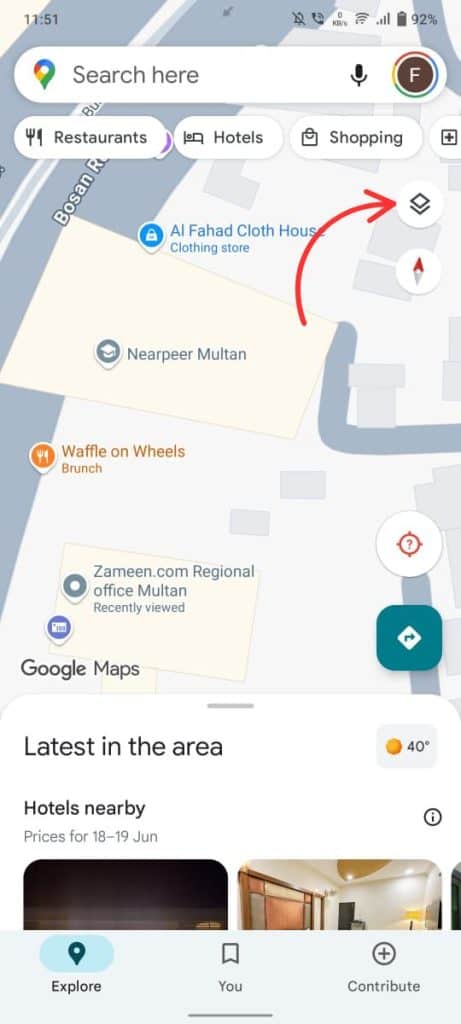
- Tap the Layers button (usually in the top-right corner).
- Select Terrain and tap Done.
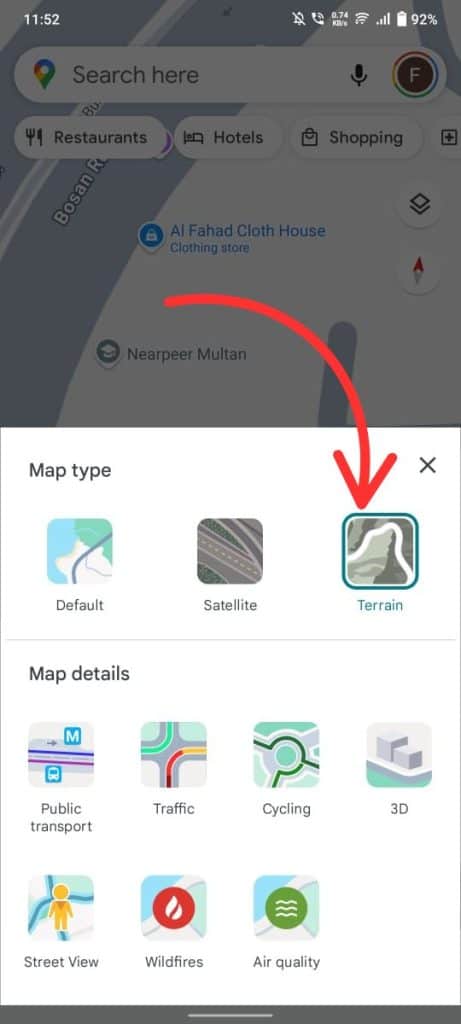
- Zoom in on the map.

The map will now show contour lines if available.
Limit: On mobile, the elevation details are not as clear or detailed as on desktop. In some places, the app may not show contour lines at all. If you need more detail, you can use Google Earth.
How to View Elevation Profile for Routes
Google Maps can also show an elevation profile for some routes — great for planning bike rides or hikes.
- In Google Maps, enter your starting point and destination.
- Tap Directions.
- Select either Cycling or Walking as your travel mode.
- If available, an elevation profile will appear below the route map.
This graph shows you the total elevation gain, highest point, and lowest point along your route.
Tip: Elevation profiles appear mostly in hilly areas or on mountain routes.
Limitations of Elevation Data on Google Maps
Google Maps elevation data is helpful, but it has limits.
- In flat areas or cities, elevation lines may not appear.
- Elevation shown is an estimate, not a precise measurement.
- Mobile app displays less elevation detail than desktop.
- For precise elevation, consider using Google Earth or dedicated hiking apps.
For casual use, Google Maps works fine. If you need precise elevation data, try other tools like Google Earth or dedicated GPS apps.
Using Google Earth for More Detailed Elevation
If you need better elevation data, Google Earth is a great choice.
- You can download Google Earth Pro on your computer or use the Google Earth app.
- You can click on any spot and see the exact elevation at that point.
- Google Earth also shows 3D terrain, making it easy to visualize the landscape.
This is very useful for planning hikes, mapping cycling routes, or checking elevation for geography projects.
Conclusion
Google Maps makes it simple to check basic elevation information. On desktop, just switch to Terrain view and zoom in. On mobile, you can enable Terrain, but the detail may vary.
For route elevation profiles, use Google Maps directions with cycling or walking selected. If you need precise or detailed elevation data, use Google Earth.
Now you know how to check elevation on Google Maps — whether you’re on your computer or your phone.