Google Maps is a very powerful tool. It allows you to see the entire world from a bird’s view and at the same time it gives you a chance to take a peek at practically every street there is. You can take a look at national parks, see the entire cities or even find a restaurant near you and take directions. Google also introduced a Time Travel feature which allows you to view how specific locations change in time. You can decide to show your location on a WordPress powered website and customize the map in details.
While you can do so much with maps, what if you wanted to create a custom Google map with your own markers, specific descriptions or even add your own driving directions to any location? Well, with Google My Maps, even that is possible.
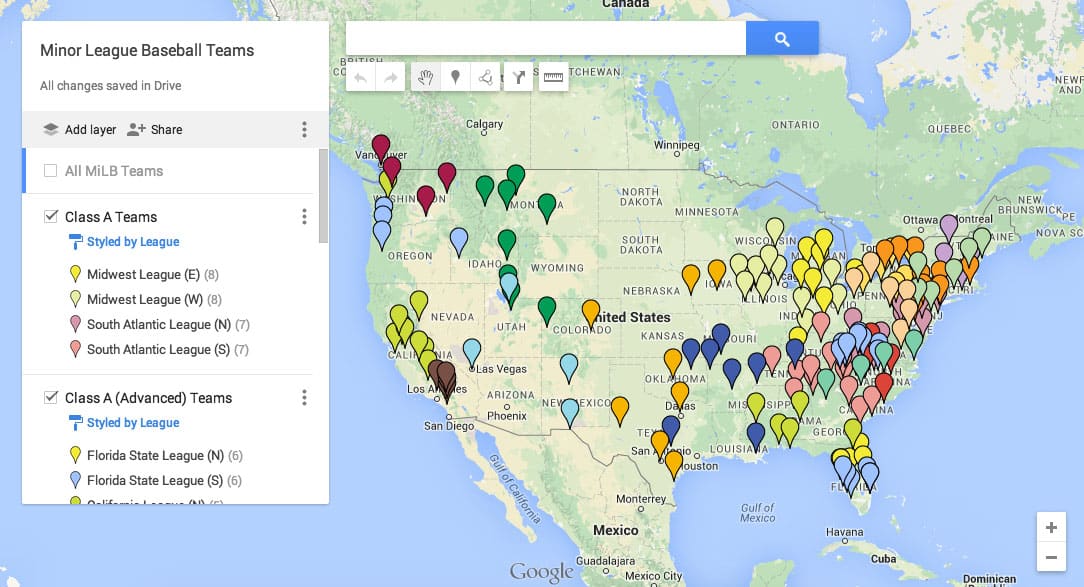
Informative maps:
If you’ve decided to create a custom map of your own, it is cool to know that you can create your own markers, draw lines, and different shapes in order to pinpoint a location.
Customizing the map also includes adding text, photos and videos to your pins as a description.
Not only can you create custom maps where you can pin practically anything, but Google My Maps allows you to save and share those maps with friends and public. As an example, take a look at this awesome project where someone mapped each and every Disney movie according to a place where it was filmed.
Another great example of a public custom map shows 1000 amazing places on Earth.
Custom Directions:
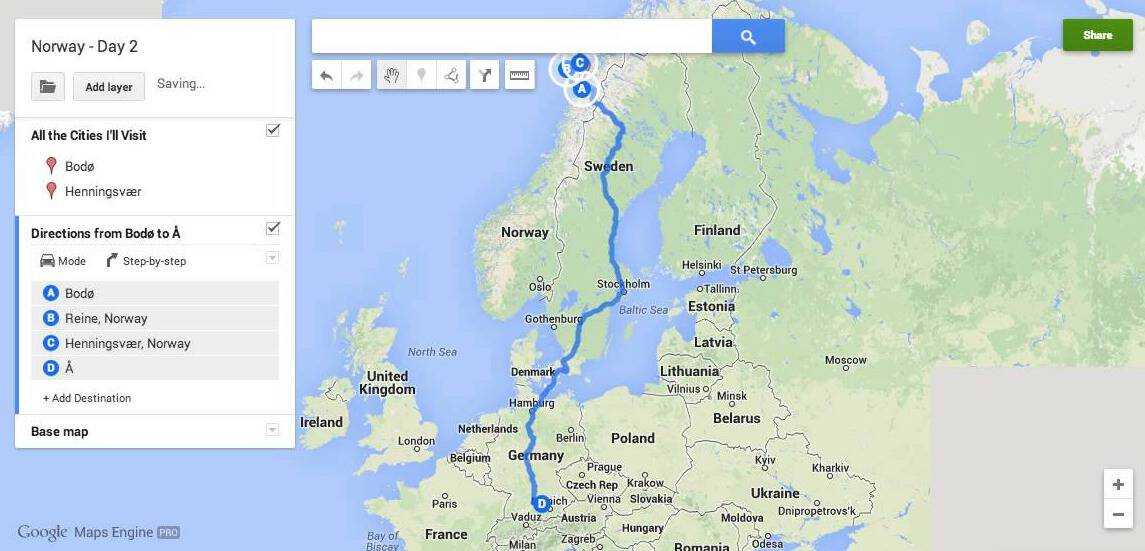
If you’re planning a route to your destination, there’s an intelligent line tool ready to help you. When you choose the starting location, it allows you to draw a line which will automatically stick to available roads and thus help you in creating a custom road trip.
Pick places worth seeing and mark them with a custom pin, write notes on the spot, measure the distance and much more.
Layers:
You can even organize everything in different layers which can be easily turned on and off so you don’t have hundreds of markers placed at the same time. For example, you can place your routes on one layer, restaurants on the other one and leave places worth seeing on the third layer so you can activate each of them separately.
Start creating your first custom map with Google My Maps:
- Navigate to Google My Maps
- Log in with your Google account
- Choose a location by scrolling the map or enter an address manually
- Choose one of the tools from the toolbar, drop pins and draw lines/routes
Depending on what are you planning to create, you can have a map done within minutes. All changes are automatically saved to Google Drive so you don’t have to worry about losing any information.
Don’t forget to preview your custom Google map and share it with friends. If you have created something interested like the examples above, you can even publish it as a public map. In that case, leave us a link in comments.
[article-promo]