
After you add your first widget to the sidebar, the customization can begin. The first thing you will want to do after entering the location will probably be editing the thumbnail map. Here are all the options you can use.
Map Size:
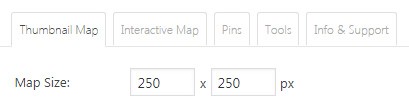
Set the image size which will act as the thumbnail map. You can use any width and height value between 50px and 640px.
Unfortunately, Google put a limitation on these numbers which means that you can’t create a larger thumbnail map. Depending on the theme you are using, the thumbnail may be resized to fit in the sidebar correctly.
Map Type:
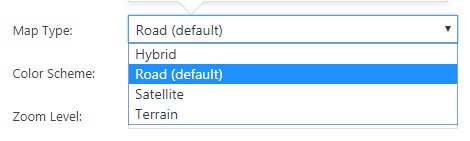
Choose the map design which will appear on the thumbnail. There are four available map types:
- Hybrid – combines road and satellite view into one image
- Road – the default map type which shows the urban map
- Satellite – shows the image as seen from Google’s satellites
- Terrain – shows a physical relief map image, displaying terrain and vegetation
Color Scheme:
Choose a color scheme which will be applied to the thumbnail. There are several schemes you can choose from and which will change the looks of your thumbnail map. You can select Apple, Blue, Bright, Default, Gowalla, Gray, Gray #2, Light, Mapbox, Midnight, Pale, Paper, Refreshed by Google (the most common one) and Ultra Light. Choose any of the color schemes, save changes and test it to find the one you like the best. See all Color Scheme examples.
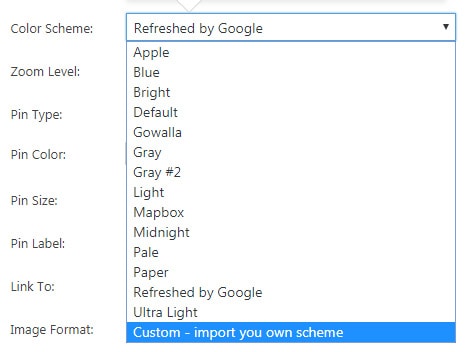
Additionally, you can create your own color scheme. By choosing Custom – import your own scheme, you get to use an online builder to generate a unique map style. Snazzy Maps offers over 15,000 custom map styles you can load and modify elements to your liking. Mapstylr and Mapstyle offer style builders too. Only use JSON formatted (JS style) custom style. For more details and examples, please see how to import your own color scheme.
Zoom Level:
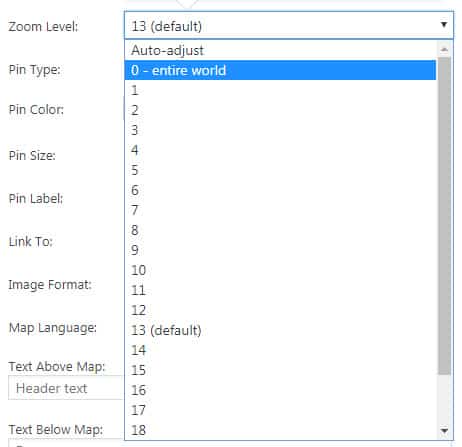
The thumbnail map can be zoomed on many different levels. While the lowest level 0 will show the entire world map, the highest level 24 will zoom into the streets and vegetation of a location. Please take note that available zoom levels differ from location to location and that not all locations can be zoomed in at the highest level. If you are using multiple pins on your thumbnail maps, you can set the zoom level to Auto-adjust which will set the map to show all the pins.
Pin Type:
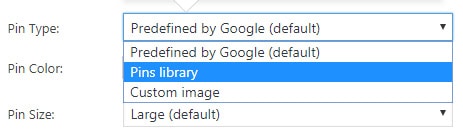
In order to show a location on the map, Google Maps Widget uses different types of pins. At the moment, there are three types you can choose from.
- Predefined – the standard Google pin for which you can change color, size and add one letter label
- Pins Library – opens the entire collection of more than 1500 custom pins you can choose from
- Custom image – enter the full URL to any publicly accessible image on the Internet. This image has to be up to 64×64 pixels
*Please note that pins from the library and those used as a custom image will not work on a localhost or a secure only (https) server.
Link To:
This option allows you to choose what happens after the thumbnail map is clicked. This event can be tracked with Google Analytics (please see the settings page for more details).
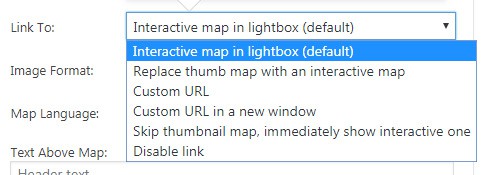
- Interactive map in lightbox (default) – opens an interactive map in a popup window which can be separately customized
- Replace thumb map with an interactive map – the thumbnail map is replaced by the interactive one on the spot, without opening a new window
- Custom URL – enter any internal or external URL which will be opened after a user clicks on the map
- Custom URL in a new window – enter any internal or external URL which will be opened in a new window
- Skip thumbnail map, immediately show interactive one – doesn’t show the thumbnail map at all but loads an interactive one immediately
- Disable link – the thumbnail map acts as an image which doesn’t lead to an interactive map or any other URL
Image Format:
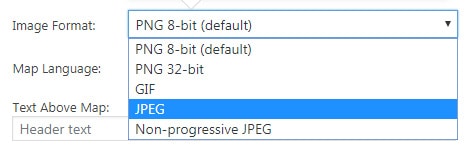
Choose the format of your thumbnail map image.
- PNG 8-bit (default)
- PNG 32-bit
- GIF
- JPEG
- Non-progressive JPEG
*Jpg and baseline-jpg usually provide the smallest image size but also render a lower quality image. On the other hand, GIF, PNG 8-bit and PNG 32-bit provide lossless compression but result in a bigger image.
Map Language:
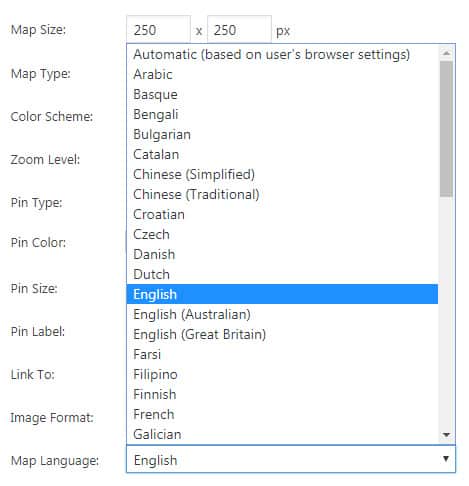
Choose a language that will be used on the thumbnail. If you use the automatic setting, the map will load language based on the users’ browser.
Text Above Map:
Write any text that will be shown above the thumbnail map. You can also use any HTML code or any of the shortcodes you are using on your WordPress website. If you choose to replace the thumbnail map with an interactive one from Link To option, this text will be replaced by the one defined in the Lightbox Map settings.

If you use the {address} keyword it will be replaced by the map address.
Text Below Map:
Write any text that will be shown below the thumbnail map. You can also use any HTML code or any of the shortcodes you are using on your WordPress website. If you choose to replace the thumbnail map with an interactive one from Link To option, this text will be replaced by the one defined in the Lightbox Map settings.

If you use the {address} keyword it will be replaced by the map address.