Importing pins
When you have just a few pins to show on your Google Map, it isn’t that hard to add addresses and choose options for them individually. But when there are dozens, if not hundreds of locations that you have to show on the map, things might spin out of control. Having to enter hundreds of pins one by one is very time-consuming.
So, in order to save your time, we have updated Google Maps Widget with the import option.
If you already have a list of addresses that you want to display on the map, you are just a few clicks away from having them on your custom map.
Preparing the import file
There are two options you can go for when importing pins. You can either copy and paste the data or upload a file which contains the details about your pins. But before you can import them into your map, you have to format the data correctly.
To start with, download the Sample File or download the list of Chicago Fast Food Restaurant Locations (30 locations) we prepared.
The Sample File consists of 8 columns which represent pin options:
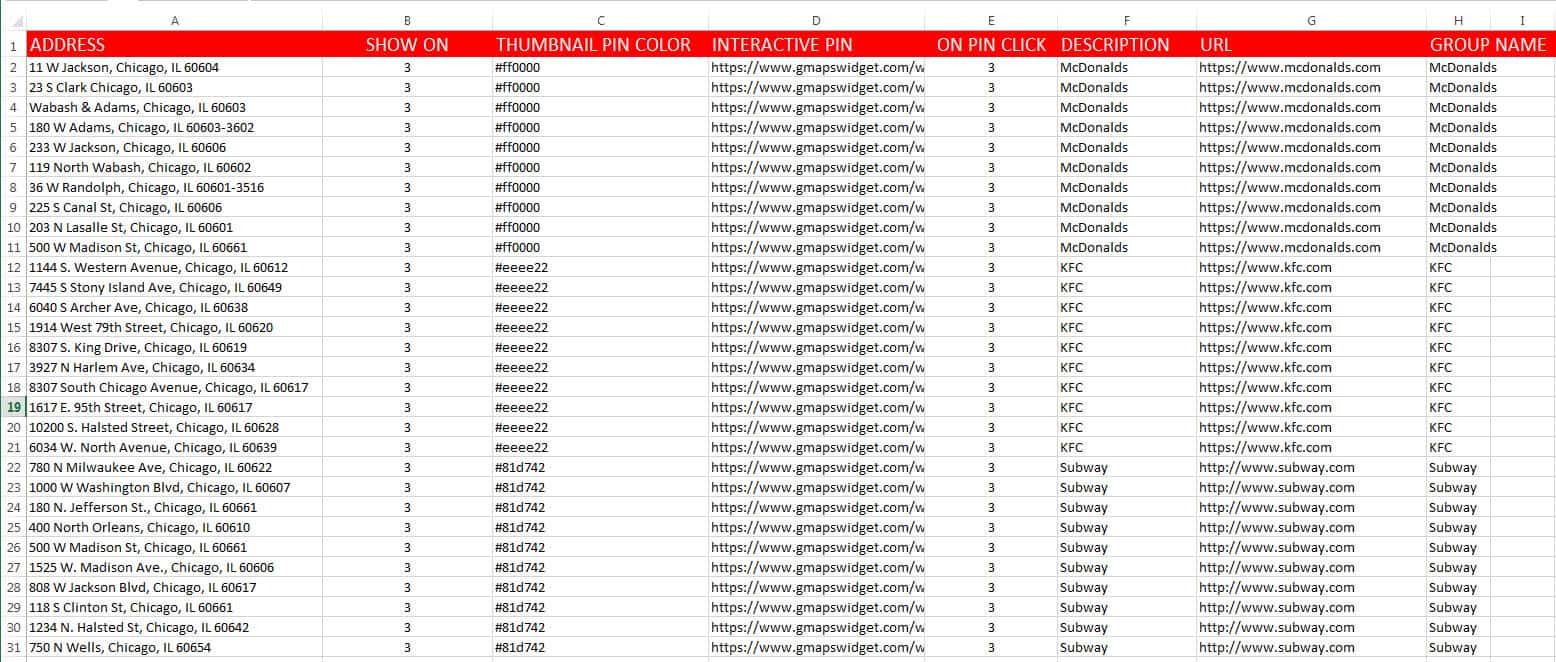
- Address – fill in the address of the pin
- Show On – write only the number of the option you want for that pin:
– 1- show on thumbnail map only
– 2- show on interactive map only
– 3- show both on thumbnail and interactive map - Thumbnail Pin Color – write the color of the pin shown on thumbnail map. Colors should be written in hexadecimal number; i.e. #ff0000
- Interactive Pin – full URL to an image that will be used as the interactive map pin icon
- On Pin Click – write only the number of the option you want for that pin:
– 1 – show description bubble
– 2 – open URL
– 3 – open URL in new
– 4 – no action - Description – write the description of the pin
- URL – if you want your pin to open a URL on click, write down the full URL here
- Group Name – if you want to create a group for filtering pins, write down the group name
Importing pins into a map
Once you have prepared the file, you are ready to import pins into a map.
Import by copying and pasting the data
- Copy the data from your Excel file
- Go to Settings -> Google Maps Widget PRO ->Import Pins
- Choose a map where you want to import pins
- Paste the data into “Pins, copy/paste”
- Click on “Import Pins” button
- Check the data one more time on the screen that will appear
- If everything’s ok, click on “Import Pins” button and wait for a few seconds
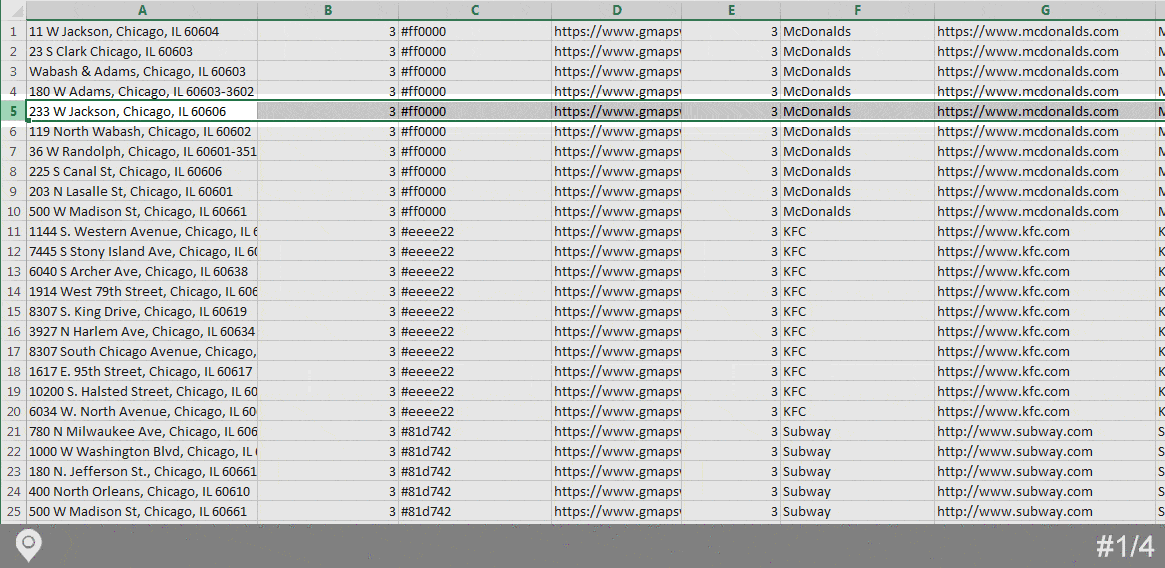
*If you are using this option, please note that data has to be formatted in a CSV fashion. One pin per line, individual fields double quoted and separated by a comma. All fields have to be included.
Example of one pin: “11 W Jackson, Chicago, IL 60604”, “3”, “#ff0000”, “https://www.gmapswidget.com/wp-content/uploads/2018/02/mcdonalds-pin.png”, “3”, “McDonalds”, “https://www.mcdonalds.com”, “McDonalds”
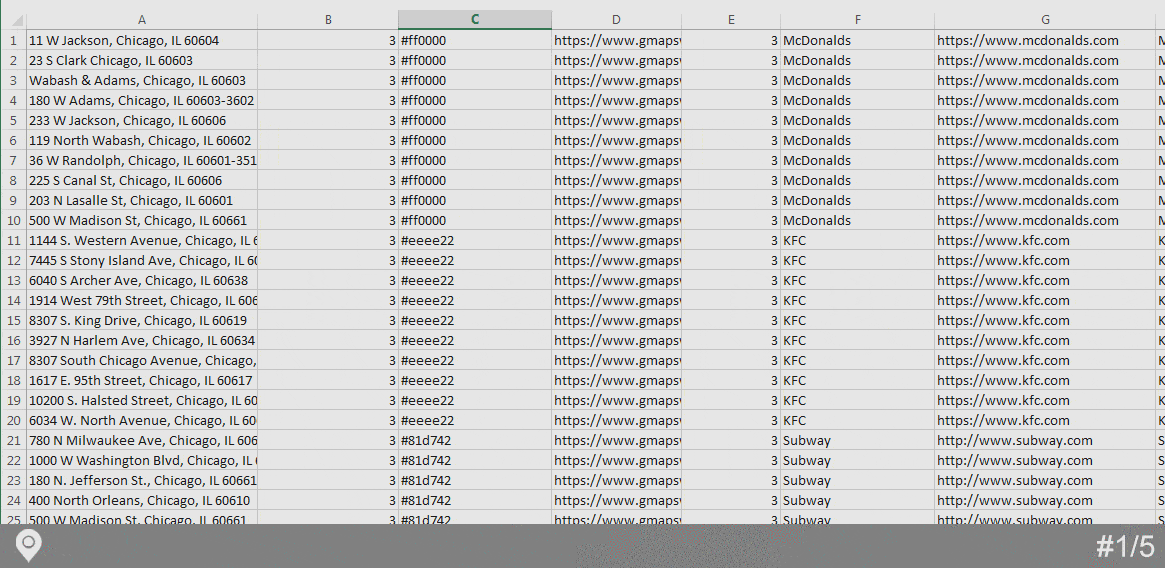
Import by uploading a CSV file
If you are using Excel to format the data, this will be the much easier option:
- Download and open the Sample File or the list of Chicago Fast Food Restaurant Locations with Excel
- Modify the file – make sure that there are no empty fields
- Save the file (Excel will warn you about the formatting -> click “Yes” to keep the format)
- Go to Settings -> Google Maps Widget PRO ->Import Pins
- Choose a map where you want to import pins
- Find “Pins, upload file” option and click “Choose File” button next to it
- Select the CSV file you edited
- Click on “Import pins” button
- Verify the data integrity and click “Finalize Import” if everything looks good
After that, you can go to Appearance -> Widgets and locate your Google Map Widget. The third “Pins” tab will have all the imported locations where you can modify them if needed.
Documentation didn't help? Contact support!
Customers who purchased and have a valid PRO license, those who donated or are on trial - contact our support via email. Either email us from the address you used when purchasing, or include your license key in the email. This speeds things along.
Using the free version? We have you covered too. Head over to the forums. First look at older threads and if you don't find anything useful open a new thread. Support is community-powered so it can take some time to get an answer. If you need premium support this second - upgrade to PRO.